Two Ridiculously Easy Ways to Make Homemade Yogurt

By Daisy Luther
Yogurt is full of good bacteria, and it’s delicious too! But those little six-packs touting “active cultures” are also filled with other ingredients that you probably don’t want to add to your diet if the purpose of eating yogurt is good health.
Here are the ingredients in Yoplait’s plain yogurt:
Cultured Pasteurized Grade A Nonfat Milk. Contains Less Than 2% of: Corn Starch, Kosher Gelatin, Pectin. Made With Active Yogurt Cultures Including L. Acidophilus.
Corn starch and pectin are nearly always made from GMOs, so if you are trying to avoid genetically modified food, you probably don’t want to eat this yogurt. Yoplait does not promote the fact that they use rBGH-free milk, so it’s a good bet the milk is loaded with hormones. Since there are no requirements to tell us about GMOs and hormones on the labels, we have to go with the most likely scenarios.
Widget not in any sidebars
Flavored yogurt is even worse. Here are the ingredients in Activia yogurt:
Cultured Grade A Non Fat Milk, Strawberries, Water,Modified Food Starch, Contains Less than 1% of Inulin, Acacia Gum,Modified Corn Starch, Kosher Gelatin, Pectin, Natural Flavor, Carmine(for Color),Sodium Citrate, Malic Acid, Sucralose, Calcium Lactate,Xanthan Gum, Acesulfame Potassium.
This particular flavored yogurt contains probable GMOs, chemical additives, probable rBGH-tainted milk, and artificial sweeteners.
It gets even better. Not only is homemade yogurt healthier than store-bought, it’s much less expensive, particularly if you prefer to give your family organic or raw dairy products.
Here’s the math:
A gallon of milk makes approximately 2 quarts of yogurt.
- 1 gallon of organic milk is $6.99 from our local Safeway.
- 1 quart of organic yogurt is $4.99.
- By making our own yogurt, using a little of a previous batch to start the new batch, the cost per quart is only $3.50.
 Something I strongly recommend for your preparedness supplies is some freeze-dried yogurt starter
It’s easy to make yogurt at home. The only issue for some folks is that it is time-consuming. While it does take time, it isn’t all hands-on time. You have to be near the stove to watch the temperature of the milk. Because of this, I usually start my milk as we’re finishing up dinner, then finish the process as I’m cleaning up the kitchen for the day. Since I’m going to be in the kitchen for an hour then anyway, it doesn’t seem like I’m spending a huge amount of time making yogurt.
There are cool little yogurt making machines
The first steps are the same for both methods. (Actually, the first steps are the same if you have a yogurt-making machine too.)
How to Make Homemade Yogurt
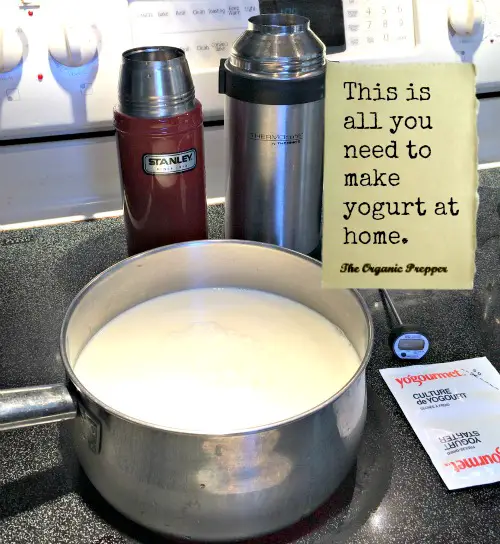
Here’s what you need:
- 1/2 gallon of milk (2 quarts)
- Culture: 1/4-1/2 cup of organic full-fat yogurt OR 2 packets of freeze dried starter
- and a food thermometer (I absolutely love my digital instant read thermometer
.)
That’s it…
Directions:
 In a large saucepan, gently bring the milk up to 165 degrees Fahrenheit. Some people, when using raw milk, raise the temperature only to 120 so that they don’t pasteurize the milk. (However, when you turn the milk into yogurt, you’ll be adding in healthy bacteria, so this is entirely optional.)
When your milk reaches the desired temperature, remove it from the heat and allow it to cool. Be sure to remove it from the element if you have an electric stove or it will continue to get hotter. If you go over 185 degrees, your yogurt may not turn out well.
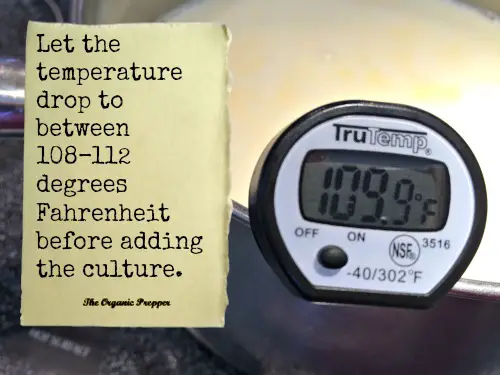
Allow your milk to cool to anywhere between 108 degrees and 112 degrees. If it is any hotter than that when you mix it with the culture, you’ll kill the bacteria that turn the milk into yogurt. If it is cooler, then it won’t be warm enough for the culturing process to occur. (This specificity is why I recommend a digital instant read thermometer
When the milk drops to the desired temperature, ladle out about a cup of it to mix in another bowl with your culture. (This can be yogurt from the store, yogurt from a previous batch, or freeze-dried starter.) Whisk it gently to combine it thoroughly. Gently. You’re not making whipped cream or meringue.

Pour the mixture back into the pot with the rest of the milk and whisk gently that to combine it well.
This is where the paths of yogurt-making part, but read all the way to the end, because the paths merge again.
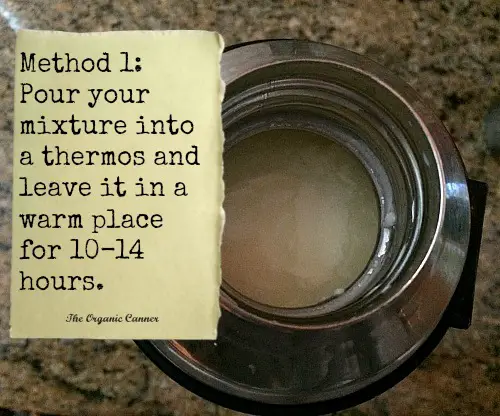
The Thermos Method
 for this. Don’t use one of those little-kid, plastic lunch box thermoses. A thermos is a good thing to have around in a down-grid scenario, so you’ll find this to be a multipurpose item.
 While you’re prepping your yogurt, fill your thermos with hot water so that the temperature inside it is nice and warm when you pour in the mixture. If the mixture cools down too quickly from meeting the chilled walls of the thermos, your yogurt will not turn out.
Empty the thermos, reserving the water for some other use.
Pour or ladle the mixture from the pot into the thermos. Use a funnel to help guide the milk into the thermos. (Scroll down to the end of the article if you want a giggle about this.)
Put the lid on the thermos immediately.
Leave the thermos in the warmest place in the house overnight. For us, this is the laundry room at our current home. At another home, we tucked the thermos behind the woodstove.
Allow your yogurt to culture in the thermos for 10-14 hours. The longer you leave it, the more tart it will be.
(You’re not quite done. Be sure to skip down to the “Last Steps” section.)
The Dehydrator Method
This method can be used if you have one of those nice large dehydrators with removable trays like the Excalibur

Remove the shelves from your dehydrator and begin preheating it to 105 degrees.
When your milk has been mixed with the culture, empty the water from the jars.
 Using a canning funnel, fill the jars with the yogurt-to-be, leaving an inch of headspace.
Place the lid on the jars. (I use old lids that have previously been canned with for this, since I don’t need a seal.)
Place the jars in your dehydrator and close it. Leave the temperature at 105 degrees and allow the jars to stay in for 10-12 hours. (Some instructions say 8 hours, but my yogurt was watery when I did that.) The longer the yogurt stays in the warmth, the more tart it will be.
You’re not quite done…read on.
Last Steps
When you make homemade yogurt, it isn’t immediately going to have the super-thick texture that you get with store bought yogurt.
Some people stir in a thickener like unflavored gelatin. When you do this, you have the goodness of the whey and you don’t have to take the extra steps of draining it.
However, I prefer to drain my yogurt and use the whey for other purposes.
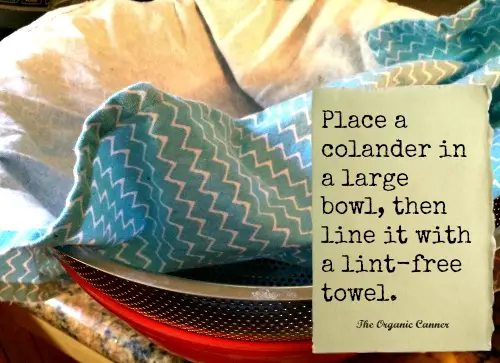
Place a large colander in a larger bowl.
Line the colander with a lint free, clean dish towel.
Pour the yogurt into your draining set up. It will be very liquidy but don’t despair!
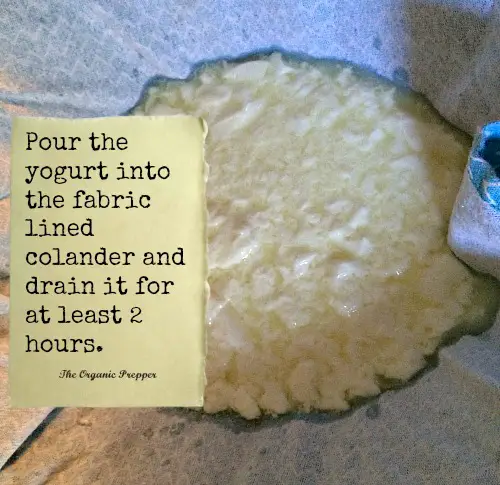
Drain the yogurt for at least two hours. The longer you drain it, of course, the thicker the yogurt will be. I like to pull mine when it is the texture of sour cream, but if you leave it overnight, it will be the delicious thick consistency of cream cheese.
Here’s the spectacular result.
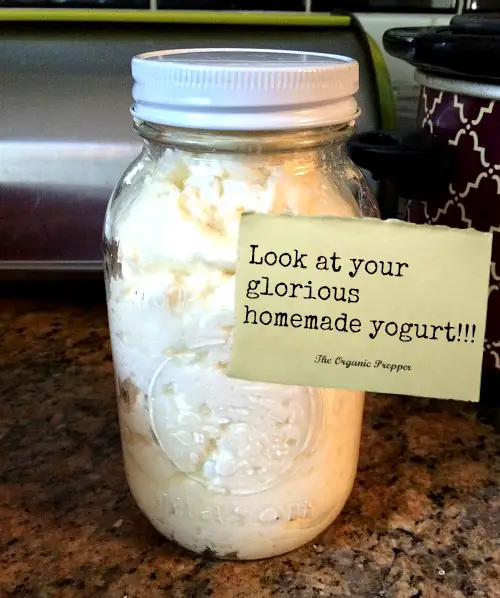
You’ll have lots of whey left over from this process. This can be used for lacto-fermentation, in place of water or milk in baking, in smoothies, or to make ricotta cheese. (Stay tuned for a ricotta recipe!)
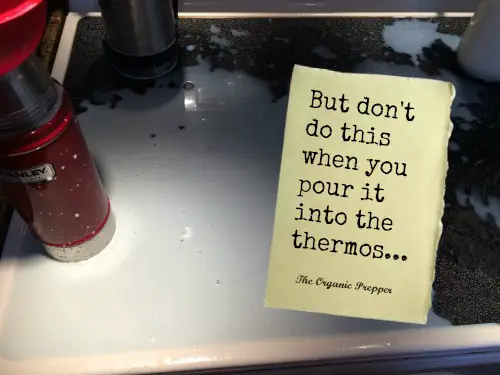
Just so you know…
You know how websites always make things look easy and flawless? That is the magic of Bloggerland and I think sometimes it can be discouraging for those who are trying new things.
Well, just so you know that all is not actually perfect in Bloggerland, I poured from the pot to the thermos this time and used a funnel with a narrow neck. I overflowed the thermos and milk went everywhere, to the point that I had to pull out the stove and clean the floor beside and behind it. See? I just wanted you to know that our photos on our blogs are edited to show the successes. We all try experiments that don’t work or make enormous messes from time to time. 🙂
Daisy Luther lives in a small village in the Pacific Northwestern area of the United States. She is the author of The Organic Canner, The Pantry Primer: A Prepper’s Guide to Whole Food on a Half-Price Budget, and the soon-to-be-released The Prepper’s Water Survival Guide: Harvest, Treat, and Store Your Most Vital Resource. On her website, The Organic Prepper, where this article first appeared, Daisy uses her background in alternative journalism to provide a unique perspective on health and preparedness, and offers a path of rational anarchy against a system that will leave us broke, unhealthy, and enslaved if we comply. Daisy’s articles are widely republished throughout alternative media. You can follow her on Facebook,Pinterest, and Twitter.